
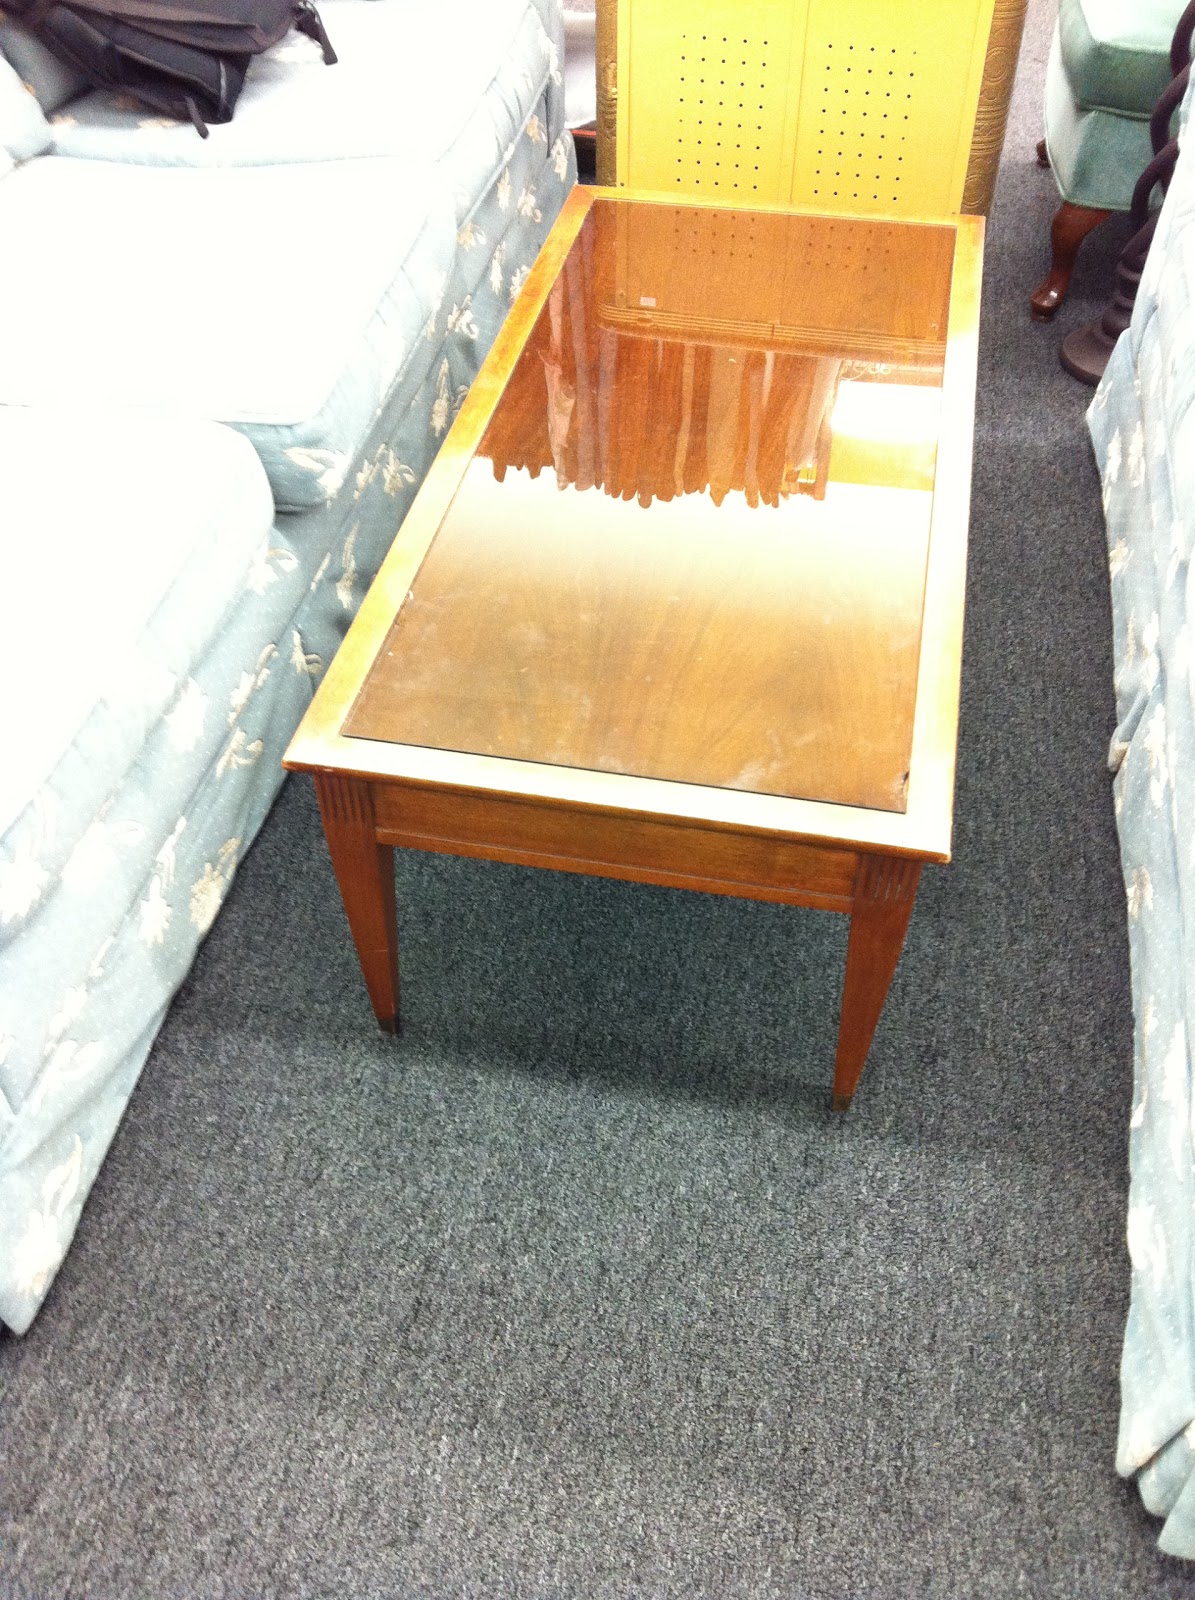


It had lots of potential and was good and sturdy. Plus, for $15 you can't go wrong! It had a glass insert, which I took out. This is where I got a bit creative. I combined these 2 tutorials, both from Jenny at Little Green Notebook:
Ottoman from Coffee Table
DIY Tufted Headboard
The first one outlines the basics for covering a coffee table, but the headboard one uses the pegboard idea (sheer brilliance), plus has deeper tufts.
I had a piece of pegboard cut at Home Depot to fit where the glass insert used to be, then got to work measuring the distance that I wanted the tufts to be. So happy I didn't have to fuss with drilling my own holes! Oh, and I should mention that I painted the legs first...


I marked the holes with chalk, then laid the buttons over top just to visualize what it might look like. Took some math, but I finally narrowed it down.


Covered with some foam I had laying around (although it's not outrageously expensive at Len's Mill if you need to buy new).

Then, like in Jenny's tutorial, I laid the pegboard on top and marked the holes with a sharpie, so I knew where to dig out some foam. This part is what allows you to get those nice deep tufts.


Covered everything with a layer or 2 of quilt batting.

This is the part that took FOREVER...covering the buttons. Even though I had a button covering kit, the fabric was too thick for them. After over an hour of pushing, I barely got them all squished in. If you've covered buttons before and understand this process, you know how my thumbs were throbbing. In the end, I still had to crazy glue some tops back on the buttons, because they popped off in the tufting process. Lesson learned - if your upholstery project requires button covering, make sure you don't pick a fabric too thick!
Here's the tufting process: Put the pegboard back in place, lay the foam and batting on top. Make sure the pegboard is facing out so you can see what holes you chose. Take a thick needle, thread with twine, then go up through the proper hole in the pegboard, through the foam, batting and fabric. Then through the button, and back down, being careful to line it up so you come out the hole again. Then, grab and pull the pieces of twine as tight as you want (I made them nice and deep). Pull across the hole and staple it in randomly so that it holds.


Then, put the pegboard on the table (you may have to drill it in to the table top to make sure it doesn't move around at all). I should also mention that we cut the legs down 3 inches once the foam was on and we realized it was taller than the couch. Make sure it's a comfy height! Now, you're ready to pull the edges taut, and staple them underneath. Voila!


So there you have it! Definitely check out those above tutorials for an even better step-by-step process. Happy DIY-ing!
Now I need to tuft ALL OF THE THINGS!!! I'm glad I came across this. It's exactly the tutorial I've been looking for. Now to find the perfect coffee table. What are your tips on selecting a good one? Alas, as much as I love your purple one, I'm going to have to do another colour, I went a little purple crazy in 2013....
ReplyDeleteThanks for a great tutorial, I'll have to give this a go when I renovate this fall. Gotta love Len's Mill too!
ReplyDeleteThanks, great tutorial!
ReplyDeleteabsolutely gorgeous!!
ReplyDeleteThis is a really creative DIY project, I love how unique your ottoman turned out.
ReplyDelete