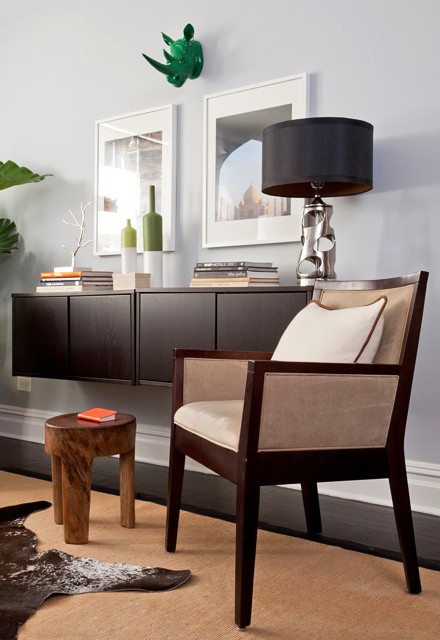
To wrap up the colour combos I'd like to try - here's the brightest of them all: neon yellow!
1. Maxi skirt
2. Neon Shirt
3. Living Room
4. Nails
5. Purse
6. Gladiators
7. Macarons
Tuesday, April 3, 2012
Monday, March 19, 2012
Embracing Colour: Fuchsia & Aquamarine
Here's another pretty colour combo I would love to try! I especially love the tablescape with the gold details...
1. cardigan and sweater
2. tablescape
3. shirt/skirt
4. party decor
5. home decor
Friday, March 16, 2012
Embracing Colour: Pink & Orange
Do bright colours make anyone else a little nervous? I absolutely love colour and would not want to live in a world without it - but this crazy thing happens in my mind when I see something I like in a bright colour. It's like a battle between my left and right brain. My right brain is all about the vibrant, go-get-em, boldness of everything bright. But it doesn't take long for my practical, you-can't-pull-that-off, downer of a left brain to kick in. What's up with that?? Part of the problem is that I don't pay attention to what crazy colour combinations work well together, so I tend to stick to one at a time.
Until recently, when I bought this $10 shirt from Garage Clothing Co...
There were other colour options that were more "safe", and easier for ol' left brain to swallow. But you only live once right! So I took the plunge into the pink/orange-ness of it all. (Side note: My sister was there and pep-talked me through it - she wouldn't steer me wrong) I'm really glad I did, and now I'm caught up admiring all the other bright colour combos out there! I've decided to dedicate my next few posts to random inspiring combos that work - in fashion, at home, anywhere; from crazy and bold to simple and subtle.
Here's to throwing caution to the wind and embracing all the bright, vibrant colours the world has to offer!
1. Striped Dress by H&M
2. Couch and Pillows
3. Pink Skirt, Orange shoes
4. Decorative Pillows
5. Macarons
6. Balloons
Thursday, March 15, 2012
Chocolate Raspberry Cream Cheese Cupcakes.
Here's my dessert for "Guess Who's Bringing Dessert?"! Chocolate cupcakes with raspberry filling and topped with raspberry cream cheese icing - DELICIOUS. I honestly loved them because they were super light, not too heavy/sweet. Just right enough that I could have eaten multiple (or is that a bad thing?) I love the rich, butter based icings as well - but after one bite of those my head gets swirly. Not with these super moist cupcakes and extra light (but still sturdy!) icing. I just used the Duncan Hines chocolate cake mix, and dug out a little hole in each one. I spoon-filled them with raspberry filling (ED Smith). Then, I used this recipe for the icing. I added 2 tablespoons of raspberry filling for some extra flavour (and to use up more filling - and I still have more left over! Gotta get creative...)
I don't have an official set of icing tips - but I managed to find one of my mom's old ones and I stuck it in the corner of a freezer bag - worked like a charm! I probably should have used raspberries as a garnish, but I had fresh strawberries so I couldn't resist using them. I'd love to know if you give them a try!
Friday, February 24, 2012
Shorts with tights.
I've been loving this trend for a while now, so it's about time I posted a few pics for inspiration. I may even pull out my shorts & tights sometime this weekend! (ps how cute is the little girl with the pink tights?)
Monday, February 20, 2012
600 cupcakes.
Last weekend on the agenda was the baking and decorating of 50 dozen cupcakes - yep, that's 600 cupcakes! We pre-sold the cupcakes to raise money for our upcoming mission trip to South Africa (Jody, Kaitlyn, and myself). Thanks so much to everyone for supporting us! And to Kathryn and Ariana for helping us decorate :)
Chocolate Dream:
Raspberry Coconut:
Vanilla Dream:
Triple Chocolate:
All packaged up and ready to be enjoyed!
...and a picture of the big mess we made...
Thursday, January 26, 2012
monkey pizza bread.
Some of my Pinterest followers may have already seen this recipe floating around: Pepperoni Monkey Pizza Bread from jasonandshawnda.com. Just wanted to let you know that I tried, and it worked perfectly! Absolutely delicious - it definitely disappeared on New Year's Eve :) (Bottom 2 pics are my own)
Friday, January 20, 2012
Thursday, January 19, 2012
colour of the year.
Last year, I posted about 2011's "Colour of the Year" so I thought I'd do the same for 2012! Enjoy the inspiration - all photos found here..
Friday, January 13, 2012
silk scarf pillow case.
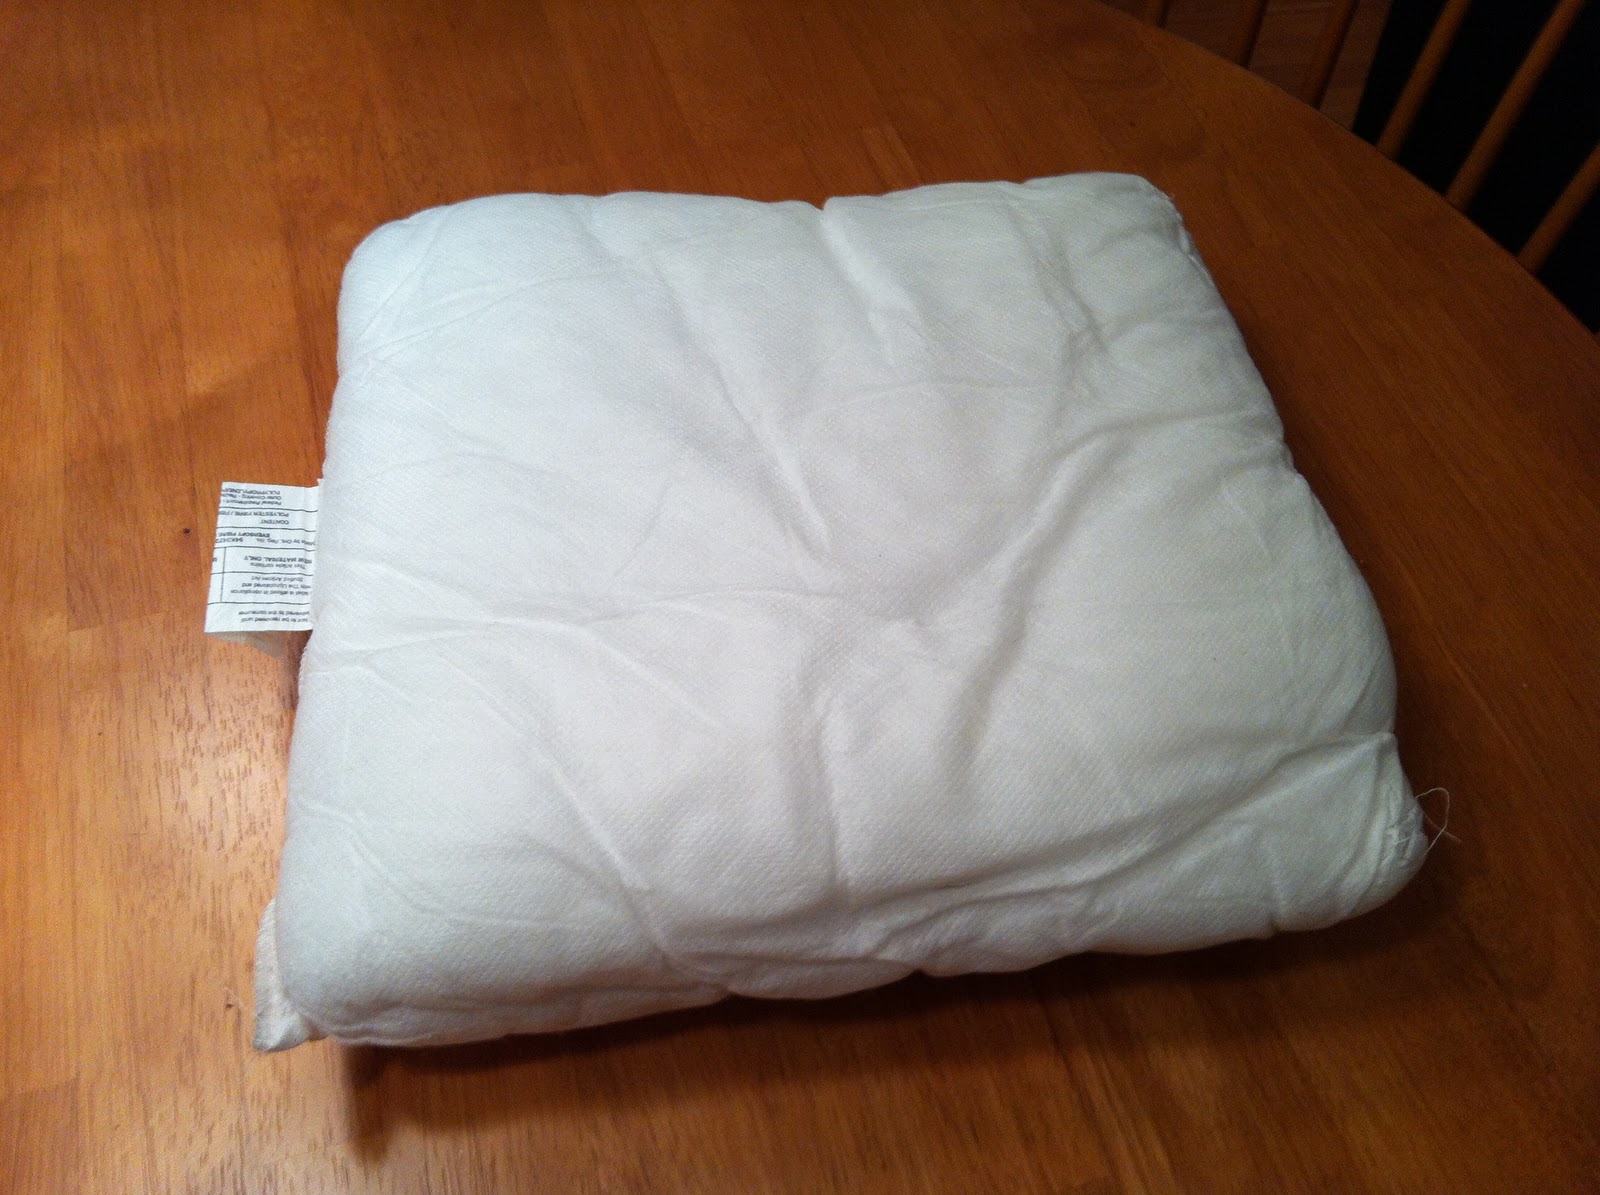
A little variation on the no-sew pillow case for you! I had this silk scarf (thrifted for $2.99?) and this old pillow form just waiting to be covered. In a little flash of spontaneous creativity, I decided to get them together.
Lay the scarf on a flat surface.
The colours are bit more muted in reality (less peach, more pink) - so pretty.
Put the pillow on the scarf (corners to sides).
Fold 2 ends of the scarf together, and tie them in a double knot.
Fold the other 2 corners together, tie, and voila! No sewing required :)
You can face the knot in..
Or out! I prefer it this way - love the colours and the gathered effect.
Give it a try for yourself!
Labels:
DIY pillow case,
no sew pillow,
pillow case,
silk scarf
Tuesday, January 10, 2012
the floating cabinet effect.
Just wanted to let you in on a little home update! There's lots of new things going on, but nothing totally finished (stay tuned)...still, I'm excited about my new china cabinet solution. I had my heart set on something like this...
or this...
so I was looking online for something similar. No luck on Kijiji, but Crate and Barrel had it! For $1200... Then I saw this on Pinterest...the floating cabinet.
It basically has the elements that I like about the other ones (the actual pieces of furniture). I wanted something long and high off the ground, rather than tall and towering like traditional china cabinets. And it was going next to our table, so I wanted it to be buffet height, so it could be functional for holding things that don't fit on our table. Then in a recent trip to Ikea, we found these floating cabinets for half price! Altogether it ended up costing approximately $200 (much better than $1200!) and I love it! I love how it looks, but the best part is that's so functional for serving and storage. Our nice china is finally put away, and not in boxes in the basement. Can't wait to get a big piece of art, or collection of art above it. Something colourful :)
(Shout out to my awesome husband and Josh Kubassek for putting it up! And to Alicia for the chat while we watched them work :)
Photo 1
Photo 2
Photo 3
Monday, December 19, 2011
Wedding Video!
I've had this for a long time now, and I'm finally getting around to sharing it! Our amazing friends over at High Rise Studio put together a little "trailer" of our wedding - we absolutely love it! Also, in case you haven't seen the photos of our wedding, you must visit the incredibly talented Jamie Delaine's blog (we are also featured on her website!)
Subscribe to:
Posts (Atom)